


SIN-00470 · INTERACTIVE RETAIL SHOWCASE
42×23-Inch Transparent LCD Touch Showcase
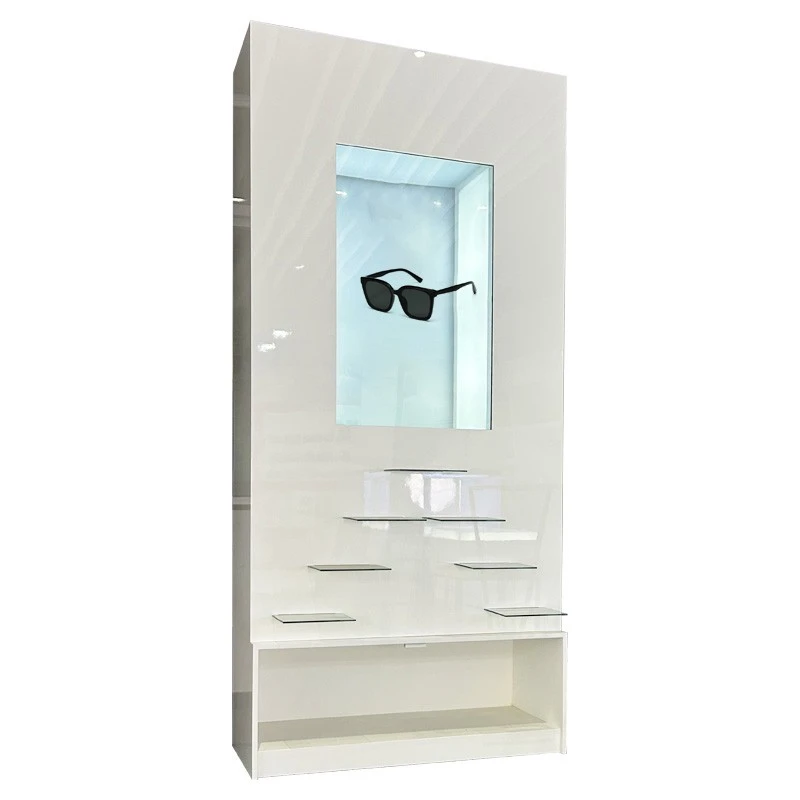
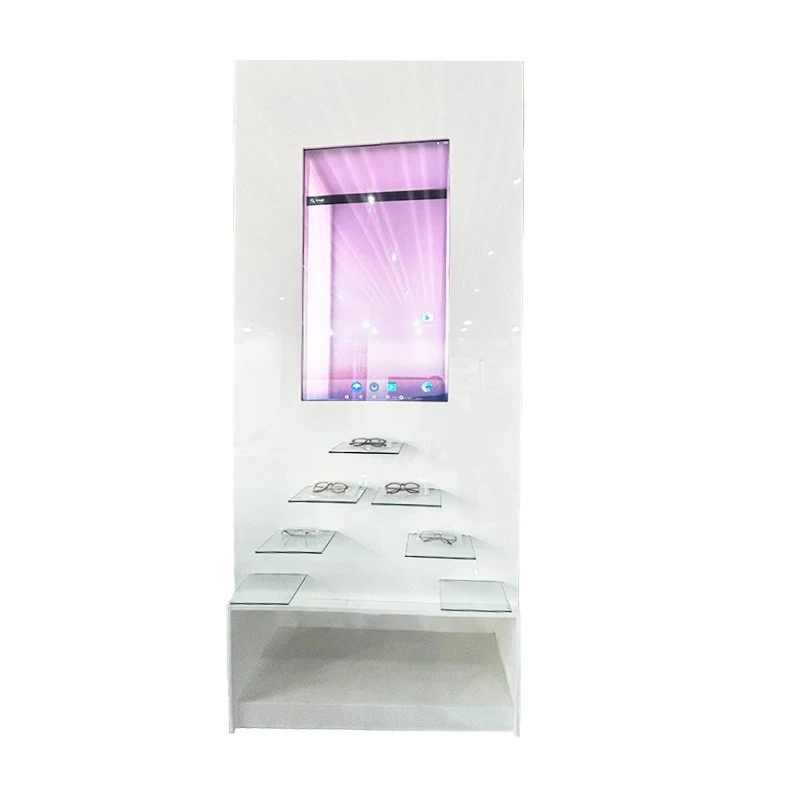
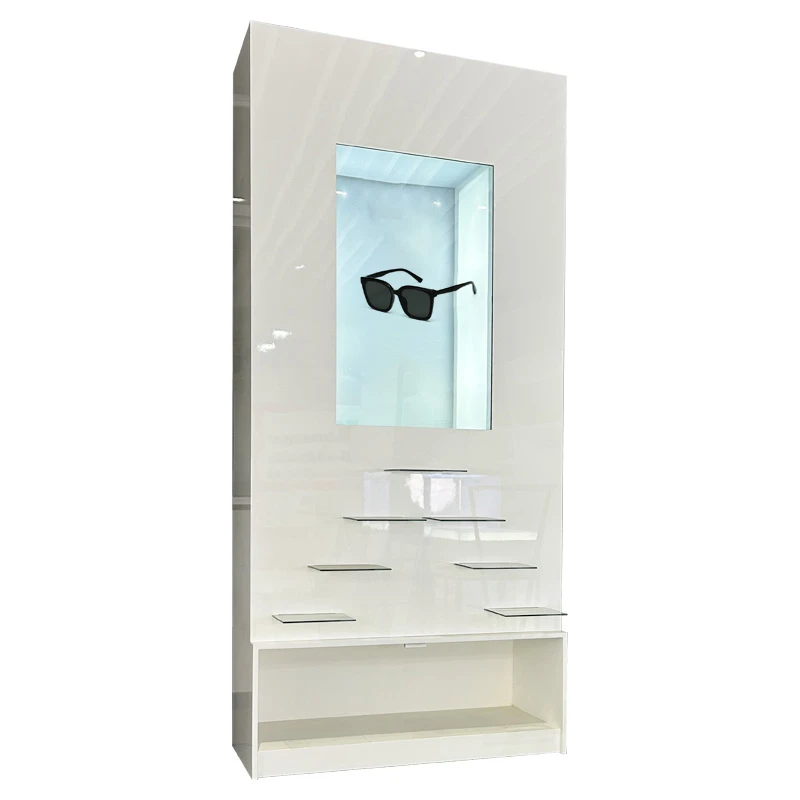
Bring a real product, a digital story and a coordinated wooden display cabinet into one presentation. Designed for indoor retail and showroom projects, this configuration combines a transparent touch display with merchandise shelving and a lower base.
Three Layers of Presentation
01 The Real Product
Stage the featured item within the illuminated display area.
02 The Digital Story
Plan video, images and touch navigation around the merchandise.
03 The Retail Fixture
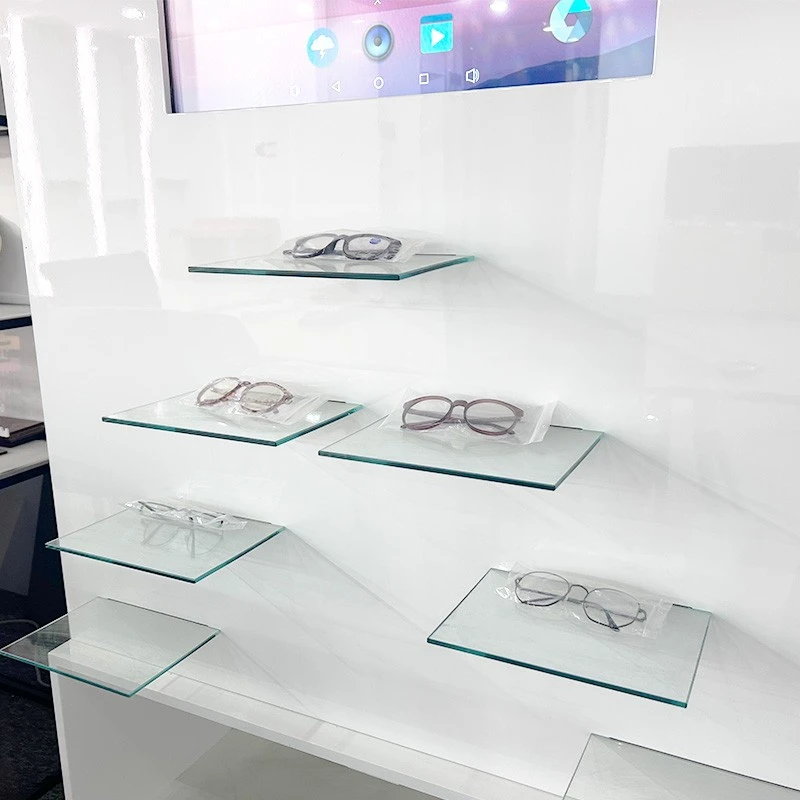
Arrange supporting products on the shelves below the screen.
REAL-WORLD PRESENTATION
One Cabinet for the Product and Its Story
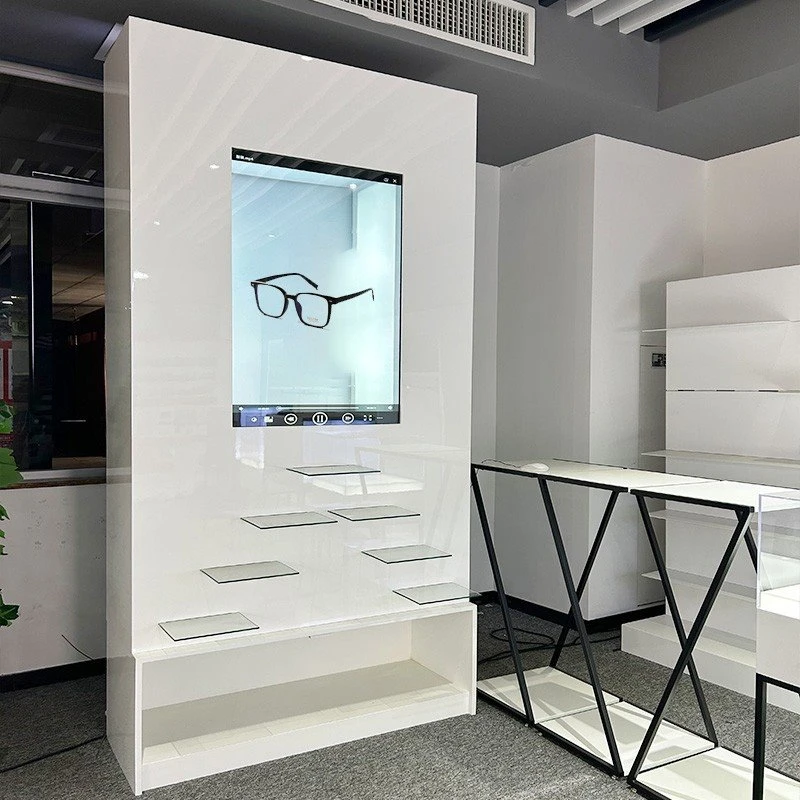
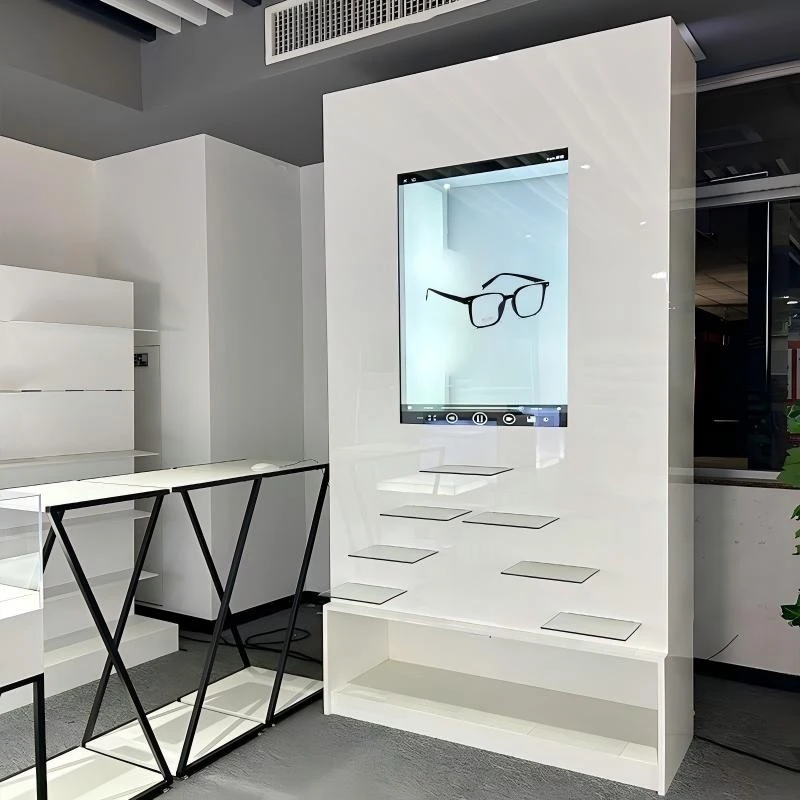
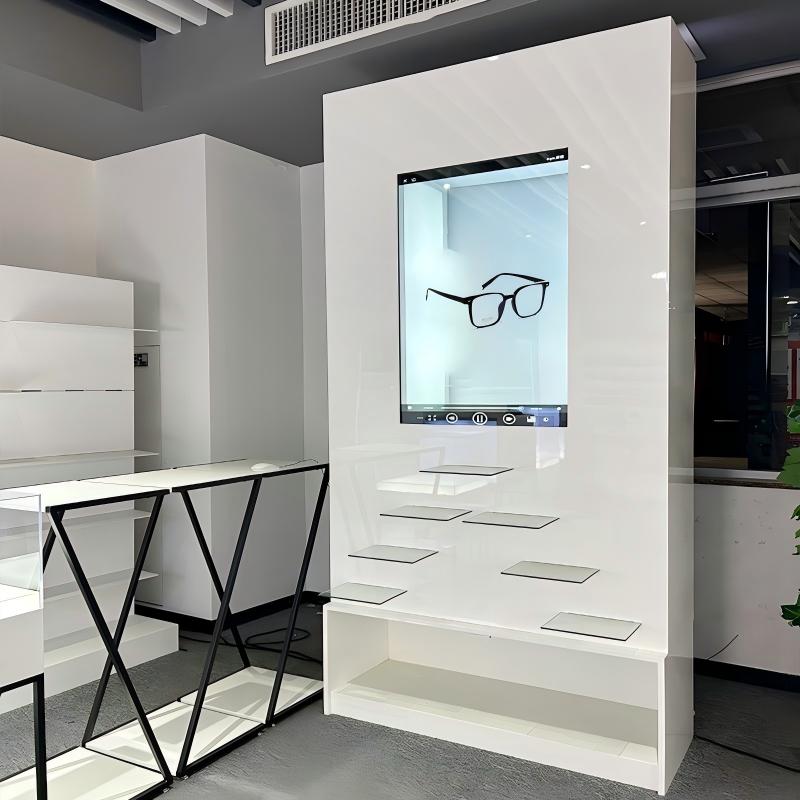
The original showroom photographs show the fixture from two viewpoints. Consider this arrangement for eyewear, accessories, branded merchandise and other products suited to the available display space.
A Product-Focused Display Window
Use the display area to frame a featured item while digital content adds supporting information.

Merchandising Space Below the Screen
Coordinate the touch display with physical products arranged on the lower shelves.
Explore our transparent display case solutions for broader fixture and display planning.
CUSTOMER JOURNEY
Create an Interaction That Supports the Product

Make the Touch Experience Purposeful
Attract attention: begin with a short visual message that leaves a useful view of the physical item.
Answer a question: plan touch navigation for product details, materials, variations or a short demonstration.
Connect to the merchandise: align the on-screen story with the featured product and the items on the shelves below.
Touch input and application design are specified together. Agree the navigation, content pages, player software and default return screen as part of the project.
CABINET REFERENCE
Separate the Cabinet Dimensions from the Screen Size
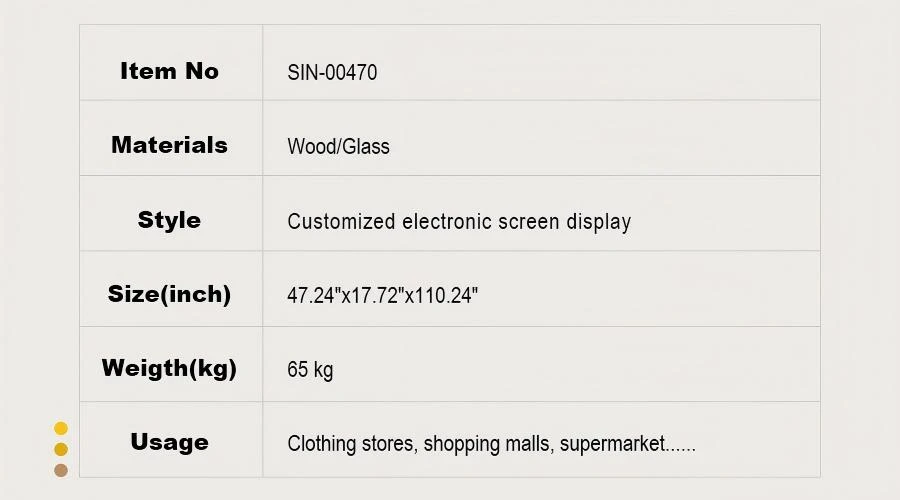
The overall fixture dimensions describe the complete cabinet. They are different from the transparent display area and its nominal size.
| Cabinet Item | Reference Configuration |
|---|---|
| Reference item number | SIN-00470 |
| Cabinet materials | Wood / glass |
| Fixture format | Vertical electronic display cabinet with merchandise shelves and a lower base |
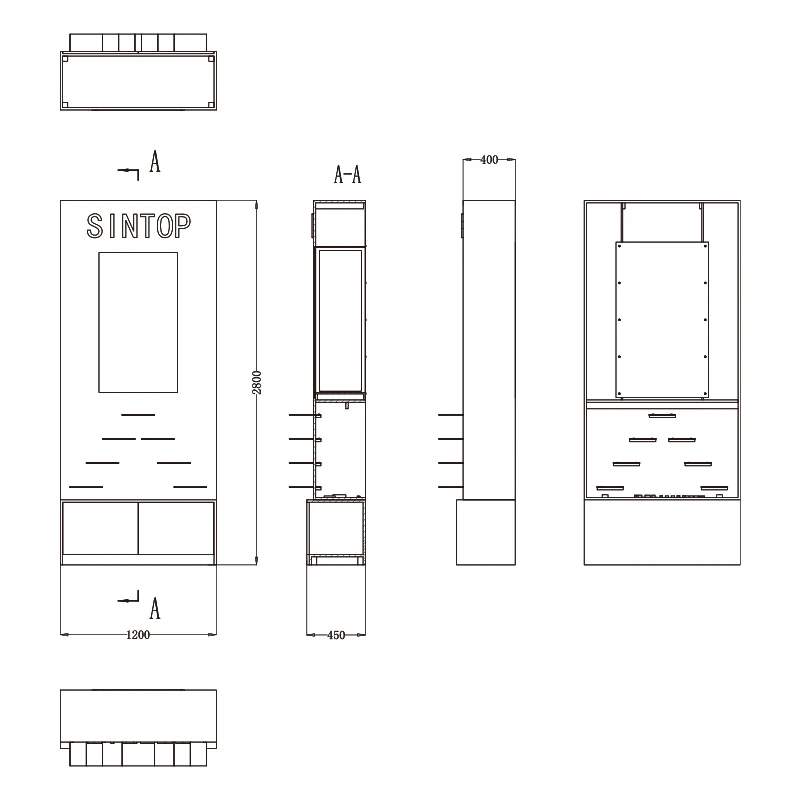
| Reference overall size | 47.24 × 17.72 × 110.24 inches Approximately 1200 W × 450 D × 2800 H mm |
| Listed equipment weight | 65 kg; confirm the final configuration and packed weight |
| Display configuration | 42×23-inch transparent LCD touch display; confirm the active area and cutout on the final drawing |
DISPLAY CONFIGURATION
Define the Screen, Player and Software Together
Specify the Touch Version and Playback Package
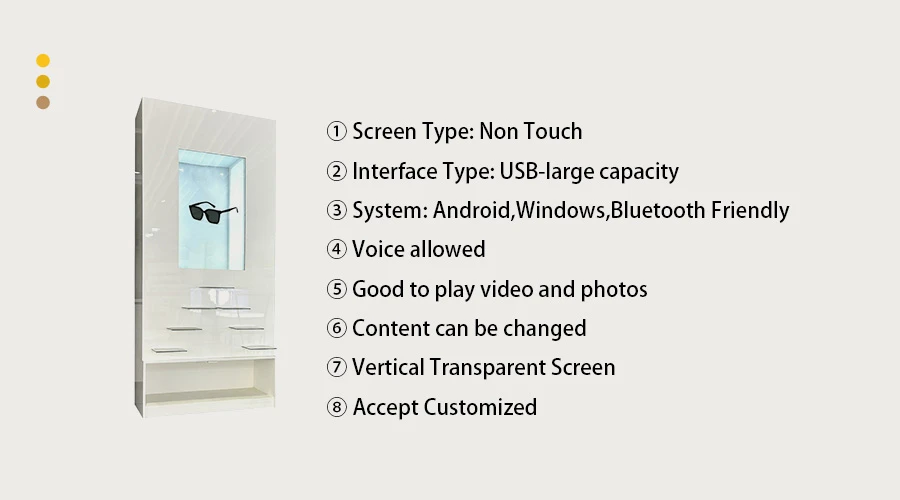
This page is specified for the 42×23-inch touch configuration. The original feature graphic shows a non-touch reference variant.
Video and image presentation depend on the chosen player. Confirm the operating system, content loading method, touch connection and application before ordering.
USB, Android, Windows and Bluetooth references in the original artwork describe configuration possibilities; they should be checked against the agreed equipment list.
| Configuration Item | What to Confirm |
|---|---|
| Screen and touch | Confirm the exact transparent LCD model, active area, mounting aperture and touch connection. |
| Player and software | Select the operating system, playback software and interactive application required for the project. |
| Content and interfaces | Confirm supported file formats, video inputs, USB loading, network updating and audio requirements. |
| Panel and electrical data | Approve resolution, brightness conditions, transmittance, refresh rate, power and environmental limits on the selected model datasheet. |
CONTENT & STAGING
Plan the Product, Lighting and Visuals as One Scene
A useful sample review combines the physical merchandise, the display content and the surrounding light. Confirm their combined appearance before repeating the design.
Content Around the Object
- Reserve a clear viewing zone for the featured product.
- Use concise text and deliberate animation rather than filling every area with graphics.
- Preview different light and dark content areas on the actual display.
- Check touch target size, navigation and the idle screen at the intended viewing position.
Lighting Around the Product
- Test with the actual item, including its color, size and surface finish.
- Review illumination, reflections and shadows together.
- Keep fixtures and product supports clear of the intended viewing zone.
- Evaluate the presentation under the store's normal ambient lighting.
ENGINEERING & ACCESS
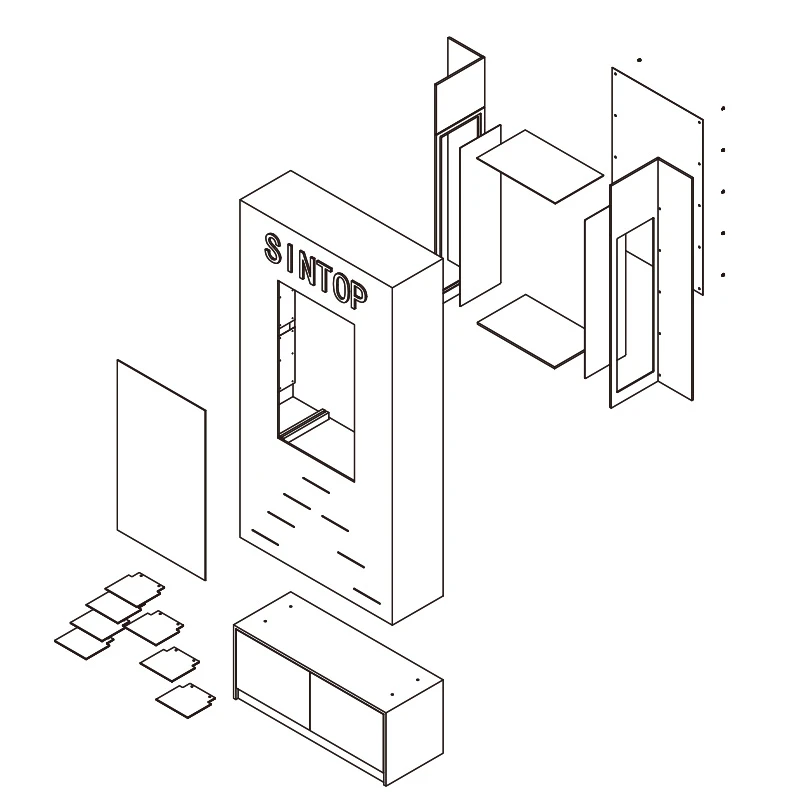
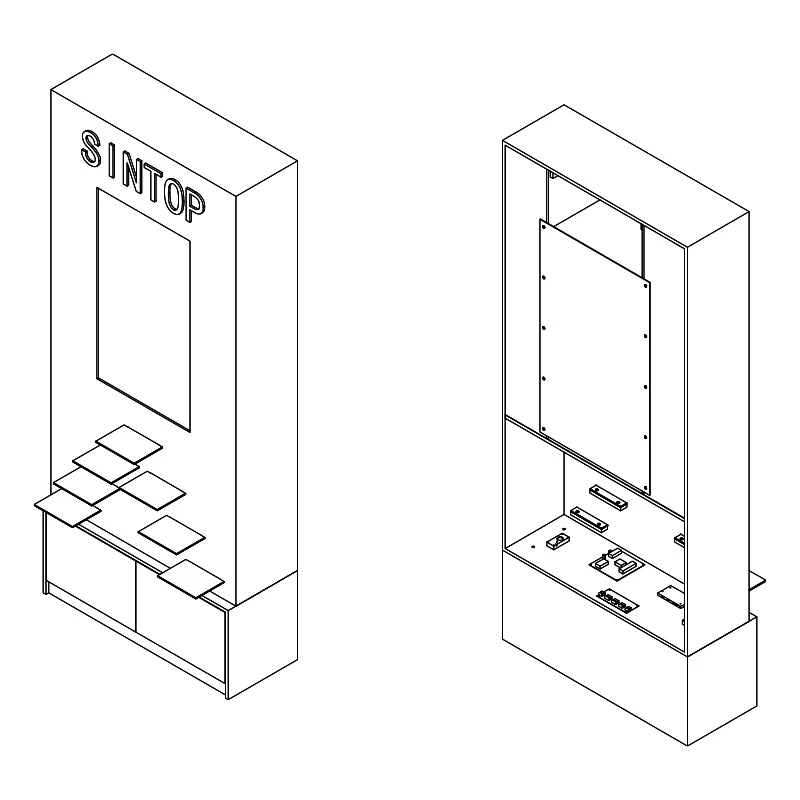
Review the Structure Before Production
Use the drawings to discuss the display opening, product supports, cabinet depth, service access and complete installation footprint.

The upper-body drawing and the full-cabinet drawing describe different parts of the assembly. Use the approved overall drawing for site planning and the approved screen cutout for panel integration.
CUSTOM FIXTURE DESIGN
Make the Cabinet Part of the Store Design
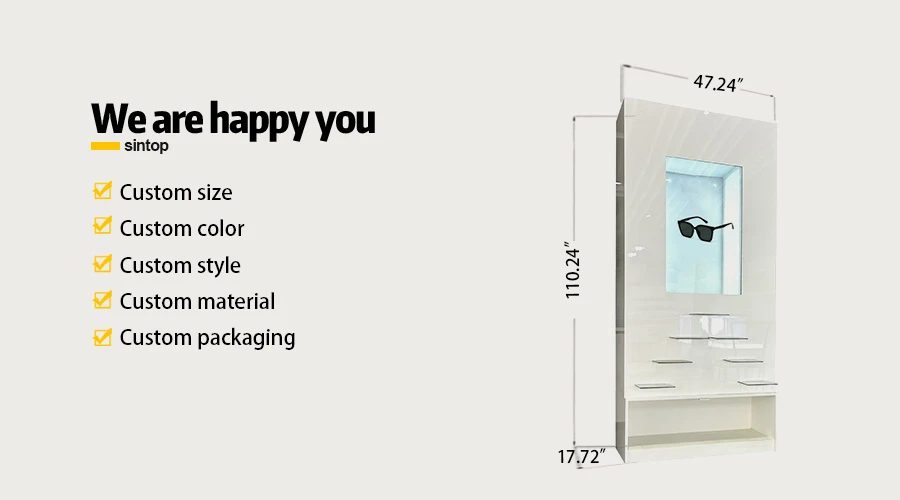
Adapt the Fixture to Your Brand and Merchandise
- Cabinet proportions: agree overall dimensions and the screen opening.
- Appearance: specify colors, finish and branding positions.
- Merchandising: define shelf spacing, product supports and the item to be staged.
- Equipment: match the touch screen, player, software and service access.
- Packing: agree protection, shipping dimensions and installation requirements.
The original customization graphic illustrates size, color, style, material and packaging options. Confirm feasibility, sample arrangements, quantity and lead time against the approved specification.
PROJECT SCOPE
Choose the Right Starting Point for Your Installation
| Project Approach | Selection Considerations |
|---|---|
| Complete wood cabinet | Choose the integrated fixture when the display area, merchandise shelves and exterior finish need to be planned together. Explore complete display case solutions. |
| Screen for your own fixture | Consider a panel-focused project when your existing cabinet or shopfitting needs a transparent display integration. View the large-format transparent LCD display. |
| Non-touch presentation | If the project calls for passive playback, compare a separate non-touch configuration and confirm its size and installation needs. View the non-touch transparent LCD option. |
FROM CONCEPT TO INSTALLATION
Give the Project a Clear Approval Path
01 Confirm the Merchandise
Provide product dimensions, photographs and the intended display position. Agree the item supports and shelf requirements.
02 Approve the Cabinet Drawing
Check the overall size, screen cutout, product loading, cable routes, finish and maintenance access.
03 Test the Touch Presentation
Review the actual item with sample visuals, interactive navigation, lighting and the selected player.
04 Prepare the Installation
Confirm delivery access, placement, stability requirements, power connection and ventilation before dispatch.
BUYER QUESTIONS
Plan the Details Before Ordering
YOUR PRODUCT. YOUR PRESENTATION.
Build Your Transparent Touch Showcase
Share your merchandise, store layout and content idea. We can review the cabinet, 42×23-inch touch display and playback configuration as one project.
Request My Showcase QuoteHot Tags: transparent LCD touch showcase, wooden display cabinet, 42 x 23 inch transparent display, interactive retail showcase, SIN-00470


