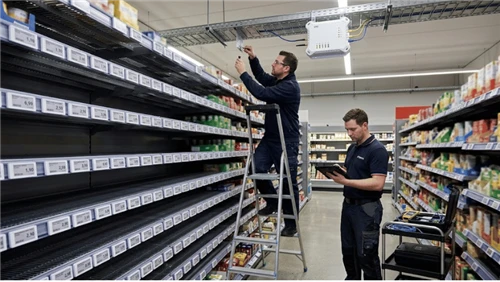
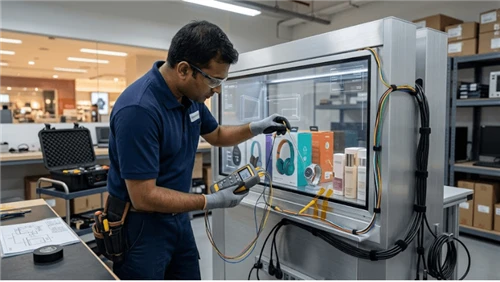
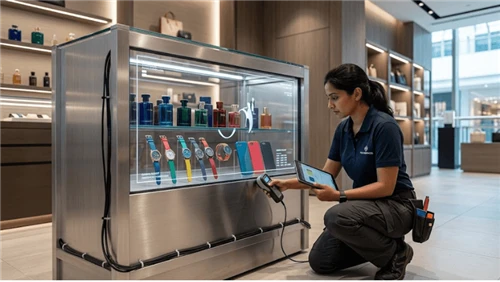
These failures have patterns, and most are diagnosable in 30 minutes or less. This guide is structured around how troubleshooting actually works: starting from what you can see on screen, then working backward to the cause. Whether you maintain commercial LCD display screens in retail, run panels in public kiosks, or debug embedded hardware during development, the diagnostic process is the same.
Quick Symptom Reference
Use this table as your first filter. Multiple causes can produce the same symptom, so treat it as a starting direction, not a final answer.
| Symptom | Most Likely Cause | First Action |
|---|---|---|
| Completely dark screen, no backlight | Power failure or blown fuse | Measure input voltage at module pins |
| Screen on but very dim | Backlight degradation or failing LED array | Test backlight circuit independently |
| Faint image visible only with a flashlight | Backlight failure - panel itself is functional | Inspect LED strips and driver circuit |
| Flickering or flashing display | Loose ribbon cable or unstable supply voltage | Reseat all connectors; check supply ripple |
| Vertical or horizontal lines across screen | Cracked substrate or driver IC fault | Visual inspection; swap driver board |
| Scrambled or missing characters | Protocol mismatch or firmware bug | Verify communication settings against datasheet |
| White screen with no content | Initialization failure or signal loss | Check protocol config; confirm reset timing |
| Persistent ghost image or burn-in | Static image on aging panel too long | Power cycle; run pixel-refresh test pattern |
| Touch input not registering | Damaged touch cable or corrupted firmware | Check ribbon cable; re-flash touch controller |
| Random resets or power cycling | Voltage spike or insufficient current capacity | Measure supply with oscilloscope; add surge protection |

What Actually Causes LCD Module Failures?
Backlight Degradation
The backlight is the most common single-component failure in LCD modules. LED arrays dim gradually over their operational life - manufacturers qualify products against JEDEC semiconductor reliability test standards, and rated lifetimes vary significantly between consumer-grade and industrial-grade panels. Always refer to your specific module's datasheet for its rated service life under your operating conditions, not a generic industry figure.
A display with a degraded backlight still passes electrical checks. The panel is working - it just cannot produce a readable image in normal ambient light. If the screen looks acceptable in a dim room but becomes nearly invisible under bright office lighting or outdoors, the backlight is the first thing to test.
⚠️ Common mistake: compensating for a dimming backlight by pushing brightness to maximum. This accelerates LED wear and shortens the remaining useful life of an already-degrading component. Selecting hardware with appropriate brightness headroom from the start avoids the problem entirely - see what distinguishes commercial-grade LCD modules from consumer-grade alternatives.
Connector and Cable Problems
Ribbon cables, zebra connectors, and solder joints degrade under vibration, thermal cycling, and repeated flex. The failure mode is almost always intermittent: flickering at certain orientations, dropped display segments under vibration, or a screen that works at startup but fails at operating temperature. Reseating every connector before ordering parts resolves a significant share of field complaints at zero cost.
Environmental Stress
Cold slows liquid crystal response; heat accelerates polarizer aging and adhesive delamination; humidity corrodes electrodes from the inside, producing missing display segments that worsen gradually over weeks. Always specify for worst-case conditions, not average ones. For applications in demanding environments, integrated LCD display solutions with matched environmental ratings are worth evaluating before deployment, not after a field failure.
⚠️ Common mistake: testing a display in lab conditions and assuming it will perform the same outdoors, in a cold warehouse, or near a source of moisture - without verifying that the module's rated IP class and temperature range actually match the deployment environment.
Power Supply Issues and Driver Faults
Voltage spikes cause immediate driver IC damage. Supply ripple - AC noise on the DC rail - causes more subtle, cumulative damage: random resets, image noise, and shortened LED life. Consult your module's datasheet for its maximum allowable ripple voltage; there is no universal threshold that applies across all panel types.
Firmware bugs and protocol mismatches are a separate category that mimics hardware failure convincingly. A white screen or scrambled output after a board swap or software update is very often a configuration error, not a broken panel. This distinction matters when comparing LCD and LED bar screen formats - different technologies have different protocol behaviors and fault signatures.
Six-Step Diagnostic Process
Work through these in order. Stop as soon as you identify the fault - unnecessary swaps waste time and introduce new variables.
Step 1 - Visual inspection before power-on. Look for cracks, condensation behind the panel, burn marks on the PCB, and displaced or kinked ribbon cables. If you find physical damage, do not apply power. A shorted connection can cause cascading damage that is far more expensive than the original fault.
Step 2 - Verify input voltage. Use a multimeter at the module's power input pins. Typical rated voltages for TFT panels are 3.3V, 5V, or 12V - check your datasheet. A reading more than 5% outside spec warrants investigation. For intermittent faults, add an oscilloscope to check supply ripple against the datasheet's allowable specification.
Step 3 - Isolate the backlight. In a dim room, shine a flashlight at the panel surface at an angle. If you can make out a faint image, the panel is functional and only the backlight has failed. This single test eliminates half the diagnostic tree in under 10 seconds - and works equally well on bar-format LCD displays as on standard rectangular panels.
Step 4 - Swap cables and boards methodically. Load a known-good test pattern. Replace the ribbon cable with a verified working unit. If the fault follows the cable, the cable is the problem. If it stays with the board, the board is next. Replace the least expensive, most accessible component first.
Step 5 - Check the communication protocol. A white screen or garbled output after a board swap is almost always a configuration error. Verify baud rate (UART), SPI mode (CPOL/CPHA), or I2C address against the datasheet. This step catches a disproportionate share of faults in kiosk display environments where modules are replaced in the field, often from incomplete documentation.
Step 6 - Replicate field conditions on the bench. A display that works in the lab but fails in deployment almost always has a thermal or vibration root cause. A connector that is marginal at 22°C may open completely at 55°C. Apply controlled heat during bench testing - a fault that appears above a certain temperature identifies thermal expansion as the mechanism directly.
Repair or Replace? A Decision Framework
Repair makes sense when the fault is localized to a single replaceable component - a cable, a backlight array, a firmware update - the module is part of a system where sourcing a replacement involves significant downtime or redesign, and the repair cost is clearly less than a new unit.
Replacement makes more sense when multiple symptoms appear simultaneously. Dim backlight, connector wear, and image ghosting appearing together is a reliable indicator of end of service life, not a single fixable fault. Replacement also makes sense when a current module offers better specifications - higher brightness, wider operating temperature, better ingress protection - that would reduce future maintenance burden.
Before committing to either path, work through these five questions:
- Is this the unit's first failure, or has it failed before?
- Is the fault limited to a single, replaceable component?
- Does the total repair cost - parts, labor, and downtime - stay clearly below the replacement cost?
- Will the repaired unit realistically last through the system's remaining service requirement?
- Does a current replacement offer meaningfully better specifications for this application?
If three or more answers favor replacement, that is generally the clearer path. Browse the full product range or speak with a specialist about sourcing. For retail and signage contexts, custom LCD configurations for retail signage often deliver better long-term economics than a direct like-for-like swap.
Preventive Maintenance
- Environmental controls: Deploy within the module's rated temperature and humidity range, using worst-case conditions for planning. In high-humidity environments, sealed enclosures with verified IP ratings are a requirement, not a precaution.
- Power management: Use regulated supplies with hardware surge protection. Avoid running backlights continuously at maximum brightness - adaptive brightness control reduces LED wear without visible impact on usability.
- Scheduled inspections: Monthly - check connector seating and look for condensation. Quarterly - run a diagnostic test pattern and verify supply voltage under load. Annually - check supply ripple and inspect optical layers for delamination or polarizer aging.
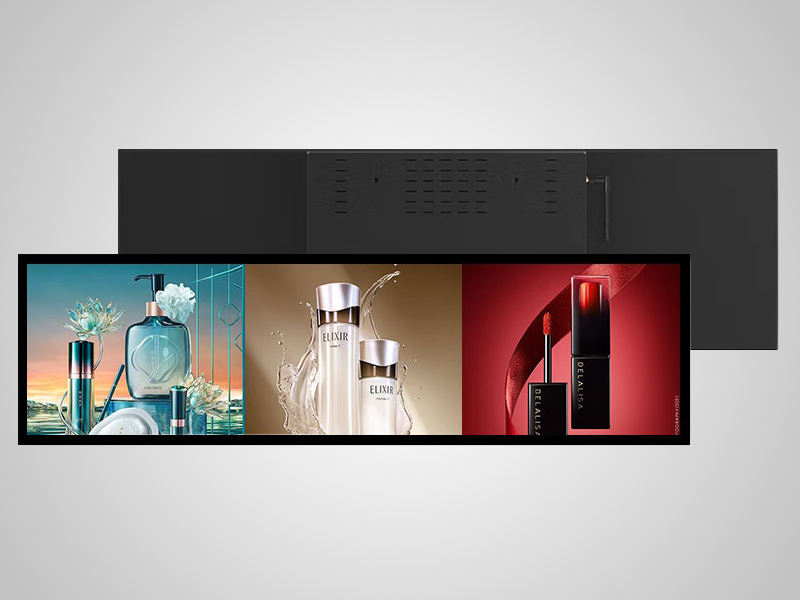
For self-service terminal deployments running continuously in high-traffic environments, the quarterly check is the highest-value single maintenance activity. Stretched LCD screens used in supermarket environments face specific exposure to humidity and cleaning chemicals that standard maintenance schedules may not fully address.
Frequently Asked Questions
My LCD shows a white screen - is the panel broken?
Not necessarily. A white screen is more often a communication or initialization failure than physical damage. Verify the protocol configuration - baud rate, SPI mode, or I2C address - against the module's datasheet. This is especially relevant after a firmware update or board swap where settings may not have transferred correctly.
How do I tell if the backlight or the LCD panel has failed?
Shine a flashlight at the screen surface at an angle in a dim room. If you can see a faint image, the panel is producing output correctly and only the backlight has failed. No image at all under a flashlight means the fault is in the panel, the driver board, or the signal path between them.
Can a flickering display be fixed without replacing the module?
In most cases, yes. Flickering is most commonly caused by a loose ribbon cable, a marginal solder joint, or excessive supply ripple. Reseating connectors and verifying supply voltage stability under load resolves the majority of flickering complaints before any component replacement is needed.
Is it safe to power on a display that has been exposed to moisture?
No. Allow the module to dry fully in a low-humidity environment before applying power. Powering on a wet display risks electrode corrosion and short circuits that can permanently damage the panel.
Why does my display work on the bench but fail in the field?
Intermittent field-only failures are almost always caused by thermal expansion at operating temperature, vibration-induced connector intermittency, or condensation during startup. Replicate the actual deployment environment - temperature, vibration, humidity - during bench testing. For guidance on selecting hardware that handles demanding conditions more consistently, this overview of high-performance LCD display options covers the specification differences that matter most.
Conclusion
LCD module failures are readable once you know what to look for. A dark panel, a flickering screen, garbled output - each maps to a manageable list of probable causes, and a structured diagnostic process finds the actual fault faster than replacing components at random. The same process also tells you clearly when repair has run its course and replacement is the right answer.
If a recent failure has put new hardware on your agenda, explore how modern commercial LCD screens compare to traditional display options, or submit an inquiry to discuss your specific application requirements.